The word Re-mill simply means to make again…. To give your Castile soap a new meaning, a new smell, a new purpose. Customize your very own specialty soap. You know your skin better than anyone else so treat it that way!! In this article I am going to give you two easy steps to make a customized bar of soap and your very own liquid soap. We will be using the very same bar of Miss Jenny’s Castile Soap in each recipe. The basic ingredients (Olive oil and Coconut oil) of this one soap works well for bars or liquid creations. To re-mill the Castile soap into bars of soap, I will teach you an easy method, using a zip lock bag to melt it in. To make the liquid soap it is as easy as boiling water and grating soap. Let’s get started!
“Miss Jenny’s Castile Soap Bar”
The Ziplock bag method…
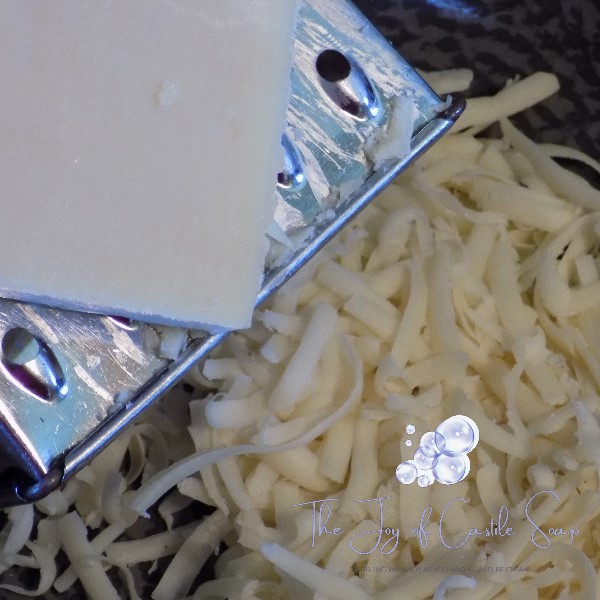
Grate up Miss Jenny’s Castile Soap 5 oz bar.
- Place your freshly grated soap loosely in a zip lock bag with 1-2 tsp of water per every 5 oz of soap. Do not pack the soap; this will make the melting of the soap take longer. Empty the air out of the sack and zip it closed. Insert the closed sack of soap into a second zip lock bag and zip it closed.
- Place the doubled zip lock bag of soap into a pot of boiling water and replace the lid. Make sure the water dept is deep enough that the sack of soap floats around in the boiling water: Hint Now is a good time to get your mold ready!
- Check the soap every 10 -15 minutes to see how the soap is melting. It will be done when it is clear and runny like golden honey. Wear hot mitts as you check the soap. You may need to massage any large lumps that have formed during the process. Tip: Sometimes it may be necessary to “Burp” the soap bags… to let out excess air. Be sure to re-zip good so no water is allowed to seep in the sack.
- Customize your soap… When the soap is golden, clear honey in color and there’s no lumps in the sack you can customize your soap. Open the bag gently and add any of the following ingredients: ½ -2 tsp of essential oil , 1-2 tsp of ground herb or spice , and 1-2 tsp of carrier oils.
- Shut the bag and massage all the ingredients gentle with your hot mitts on. When the Essential oils and spices are well mixed… it is time to mold. 6. You should have your molds ready. Lightly spray with oil or wipe down with very fine oil and cloth. Snip the small triangle corner off the side of your soap sack and pipe the hot liquid soap into your mold of choice.
- Tap gently to make sure the soap fills into the empty spaces. Cover the top of the mold with wax paper or plastic wrap.
- Let it Cool until hard. Place the soap mold in the freezer until frozen rock hard. Gently unmold the soap while frozen.
- Place the fresh soap on parchment paper and allow to dry for a week or two. Hint: Let it dry- the longer the soap dries the longer it will last. Any scraps you have can turn into a beautiful golden liquid!
“Miss Jenny’s Liquid Castile Soap”
Regular Strength Solution-
Grate up Miss Jenny’s Castile Soap 5 oz bar.
- Place the grated soap into a warmed quart jar and cover with boiling water.
- Stir and Allow to sit covered for 24 hours or until transparent.
Hint: You can use this solution in any recipe calling for Liquid castile soap. In time if the soap becomes cloudy or to thick… simply reheat!
Enjoy and God Bless as you Wash… and be Clean!
Miss Jenny

